
A Step-by-Step Guide to Installing PVC Wall Panels in Kitchens and Bathrooms
Upgrading your kitchen or bathroom doesn’t have to mean weeks of disruption or the mess of retiling. A PVC wall panel system offers a modern, waterproof alternative that’s quicker to install, easier to maintain and often more cost-effective.
With UK homeowners increasingly prioritising low-maintenance interiors and moisture-resistant finishes, PVC panels have become a popular choice for renovations and new builds alike. In this guide, we’ll walk you through the full installation process, explain the benefits, and share one simple design idea to elevate your space.
Why Choose PVC Wall Panels?
Before getting started, it’s worth understanding why PVC panels are particularly suited to kitchens and bathrooms.
Water resistance
PVC panels are fully waterproof, making them ideal for shower enclosures, splashbacks and high-humidity areas. Unlike tiles, there are no grout lines where mould can develop.
Durability
They resist staining, cracking and impact damage. This makes them practical for busy family homes.
Low maintenance
A simple wipe with a damp cloth keeps the surface clean. There’s no need for specialist cleaning products.
Quick installation
Many systems use tongue-and-groove edges, allowing panels to slot neatly together. In some cases, they can even be installed over existing tiles.
Cost efficiency
Fewer materials, no grout and reduced labour time can make them more economical than traditional tiling.
While wood wall panels and decorative wood panels are popular in living spaces, they are not naturally suited to damp environments unless specially treated. PVC offers the look of a premium finish without the risk of water damage.
Tools and Materials You’ll Need
Preparation is key to a smooth installation. Having everything ready will prevent interruptions once installation begins. Gather the following before you begin:
● Tools
● Tape measure
● Spirit level
● Fine-tooth saw or circular saw
● Stanley knife
● Adhesive gun
● Silicone sealant gun
● Pencil
● Safety goggles and gloves
● Materials
● PVC wall panels
● Strong panel adhesive
● Waterproof silicone sealant
● Internal and external corner trims
● End caps and finishing trims

Step 1: Prepare the Surface
A clean, level surface makes sure that proper adhesion and a professional finish. If installing over tiles, check that they are firmly fixed and relatively level. Loose tiles should be removed first. PVC panels can tolerate minor unevenness, but major dips or bumps should be addressed.
Start by:
● Removing loose wallpaper or flaking paint
● Cleaning grease and dust from kitchen walls
● Ensuring bathroom surfaces are fully dry
● Filling large holes or cracks
Step 2: Measure Carefully
Accurate measuring prevents waste and misalignment. It’s wise to dry-fit your panels before applying adhesive. This allows you to confirm the layout and adjust cuts if necessary. Remember to allow a small expansion gap at the top and bottom of panels, particularly in bathrooms where temperature fluctuations are common.
● Measure the full height and width of each wall
● Deduct areas for doors, windows and large fixtures
● Plan where joins will fall
● Check ceilings and floors for level differences
Step 3: Cut the Panels to Size
Cutting a pvc wall panel is straightforward with the right tools. Take your time here. A clean cut means seamless joins and a more polished finish.
● Mark measurements clearly using a pencil
● Cut face-up using a fine-tooth saw
● For minor adjustments, a sharp Stanley knife may suffice
● Smooth edges if necessary
Step 4: Apply Adhesive
Most installations rely on strong grab adhesive.
● Apply adhesive in vertical beads or a zig-zag pattern
● Make sure there is coverage near edges and through the centre
● Avoid over-applying, as excess adhesive can create unevenness
● Work on one panel at a time to prevent adhesive drying prematurely.
Step 5: Install the First Panel
Your first panel sets the tone for the entire wall, so accuracy is crucial. If this panel is slightly misaligned, every subsequent panel will follow the same angle. Double-check before moving on.
● Start in a corner
● Use a spirit level to make sure it is perfectly vertical
● Press firmly against the wall
● Apply even pressure across the surface
Step 6: Interlock Additional Panels
PVC panels typically feature tongue-and-groove edges. Repeat this process across the wall. Work steadily and avoid rushing, particularly around windows, sockets or plumbing fixtures where precision cutting may be required.
● Slide the next panel into place
● Ensure the joint clicks securely
● Press firmly to bond adhesive
● Continue checking alignment with a spirit level
Combining PVC with Wood Accents
For a contemporary finish, consider mixing materials thoughtfully.
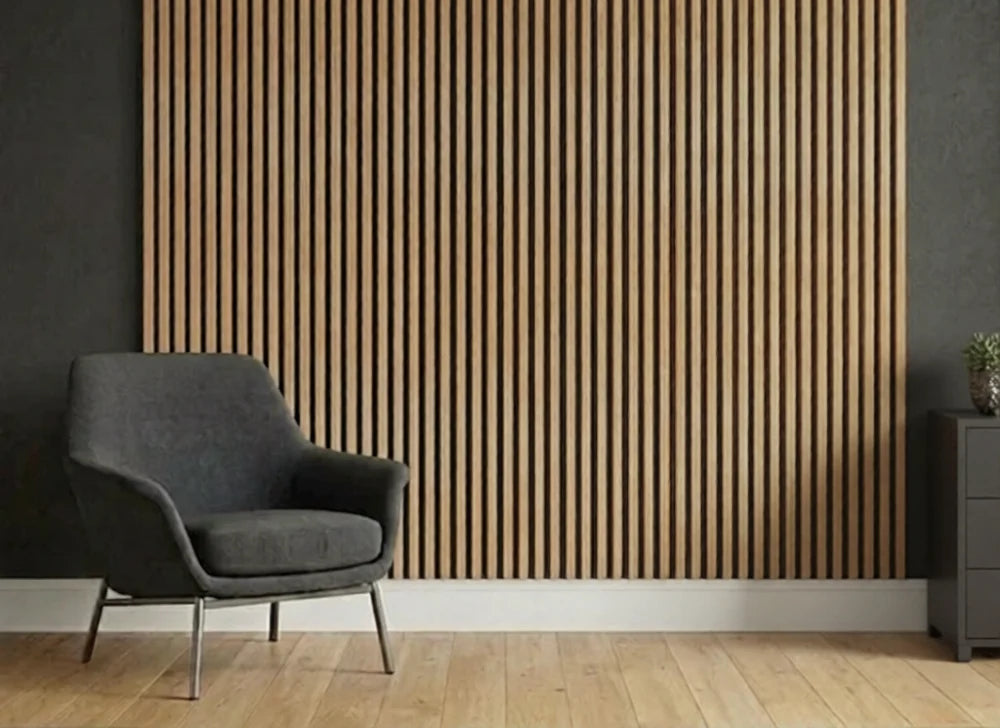
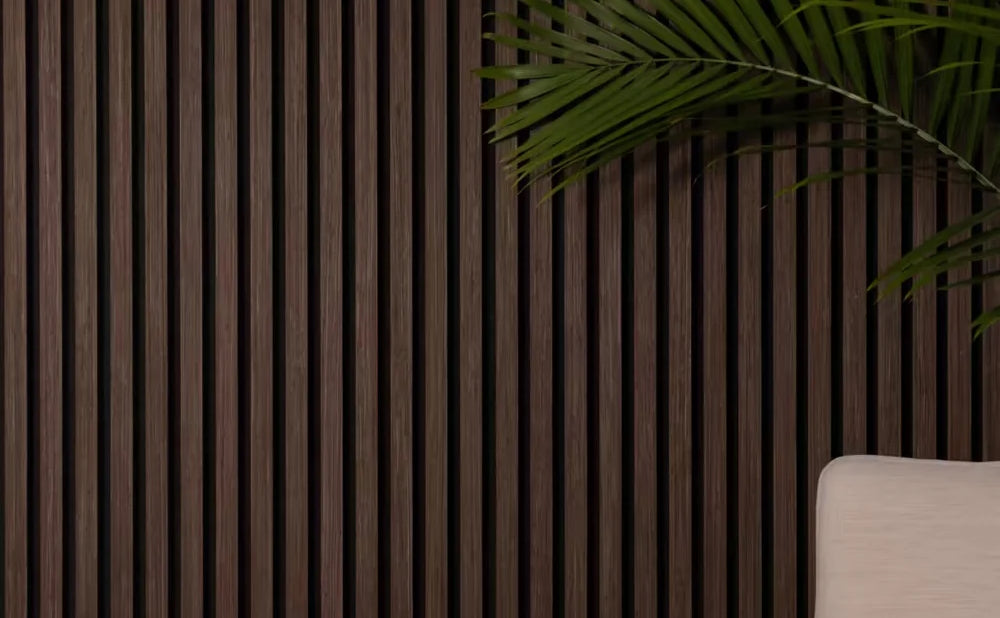
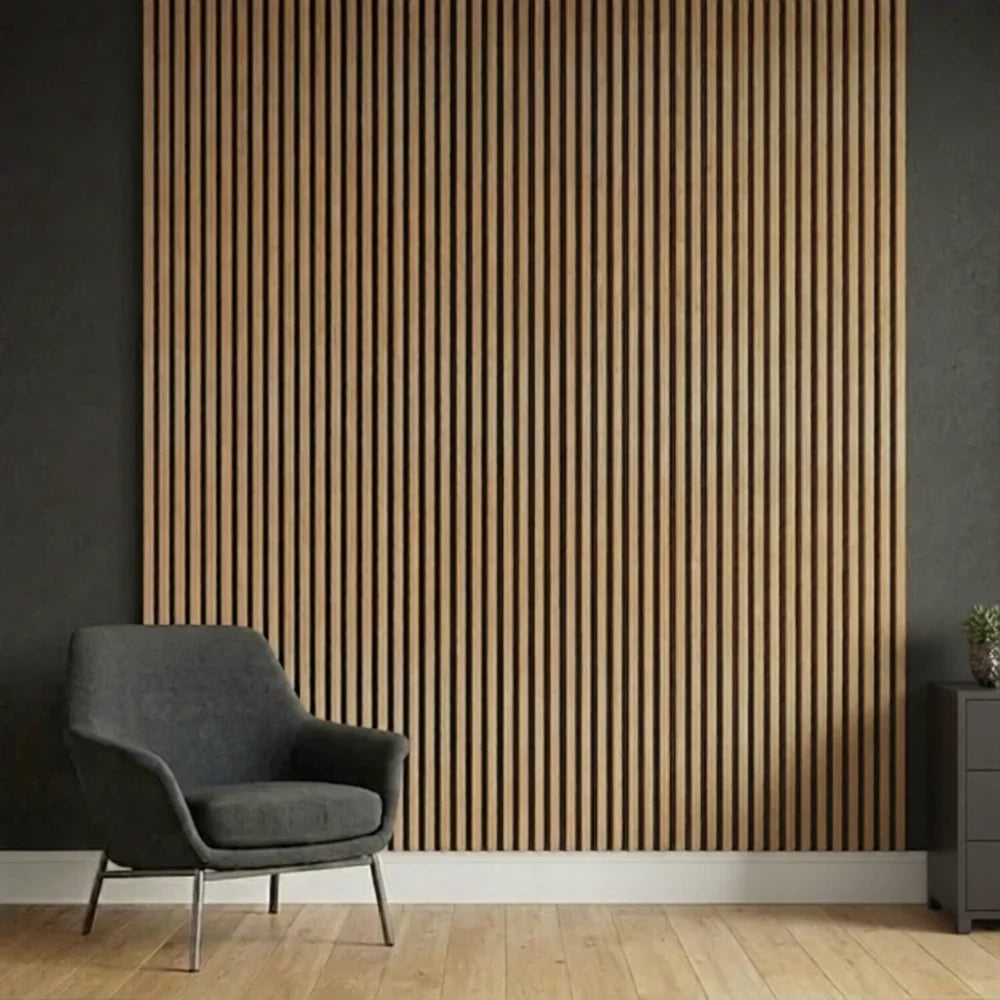
Use marble- or stone-effect PVC panels in shower areas or behind kitchen worktops for practicality. On a dry feature wall, incorporate a decorative wood panel wall for warmth and texture.
This approach allows you to enjoy the aesthetic appeal of wood wall panelling decor while maintaining durability where water exposure is highest. Vertical slatted decorative wood panels can create a spa-inspired feel in bathrooms or a stylish contrast in modern kitchens. The combination delivers both character and performance.
Common Installation Mistakes to Avoid
Even simple projects can go wrong without care. Watch out for:
● Skipping surface preparation
● Not checking walls are level
● Applying insufficient adhesive
● Forgetting expansion gaps
● Failing to seal joints properly
● Cutting panels before double-checking measurements
Panel Hub
Installing a pvc wall panel system in your kitchen or bathroom is a practical upgrade that delivers long-term benefits. With waterproof protection, easy maintenance and straightforward installation, PVC panels offer a modern alternative to traditional tiles.
By preparing surfaces properly, measuring accurately and sealing thoroughly, you can achieve a clean, polished finish without specialist tools. And by combining PVC with carefully placed wood wall panels in dry areas, you can balance style and functionality beautifully.
Ready to Upgrade Your Walls?
If you’re planning a kitchen or bathroom refresh, choosing the right materials makes all the difference. At Panel Hub, you’ll find a wide range of high-quality PVC wall panels designed for durability, water resistance and effortless style. Get in touch today to find out more about our panel range, or how we can help.