
Article: How to Install Acoustic Panels: Your Easy DIY Guide
How to Install Acoustic Panels: Your Easy DIY Guide
Installing acoustic panels at home is one of the simplest ways to improve sound quality and elevate your interior design. Whether you're creating a cosy living room, a home office, or a media space, learning how to install acoustic panels doesn’t require professional experience, just the right tools, preparation, and a clear step-by-step approach.
This beginner-friendly guide will walk you through everything you need to know, including how to install acoustic panels on walls, the best fixing methods, and how to achieve a clean, modern finish, especially with easy-install systems like those from Panel Hub.
Why Install Acoustic Panels?
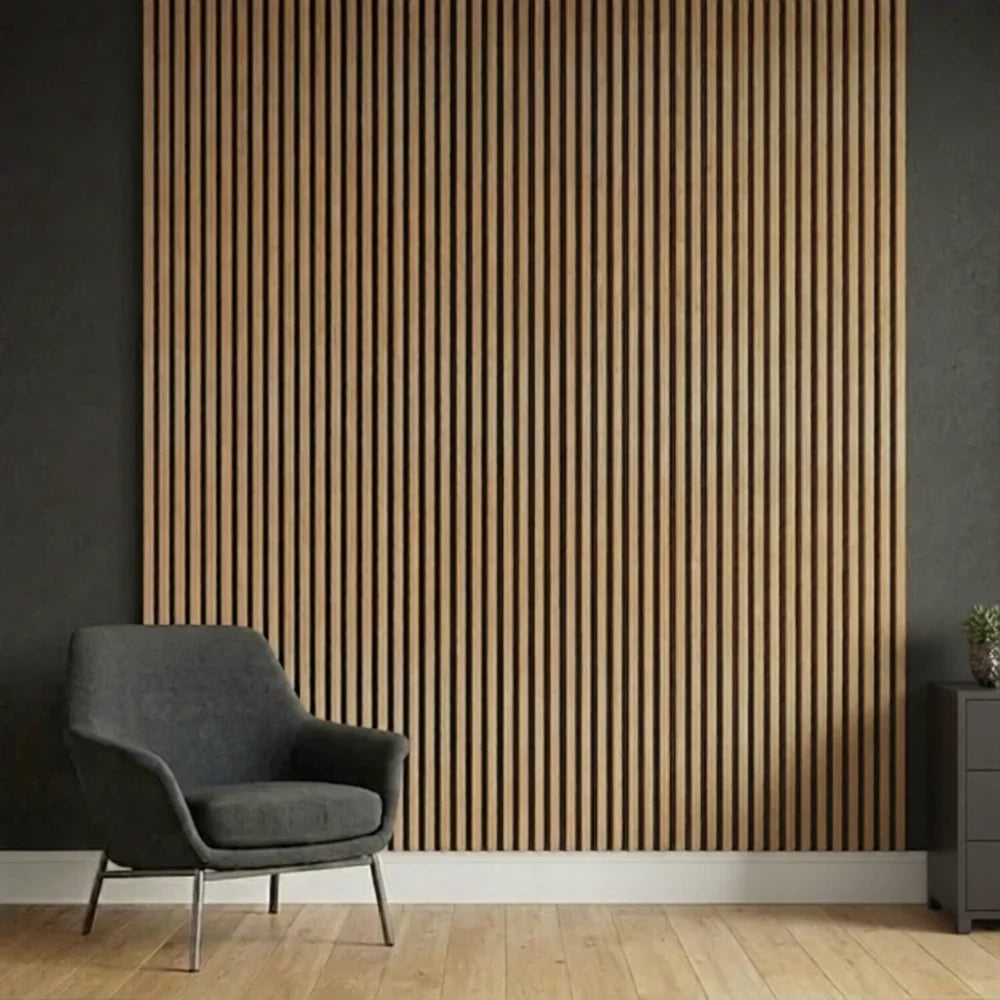
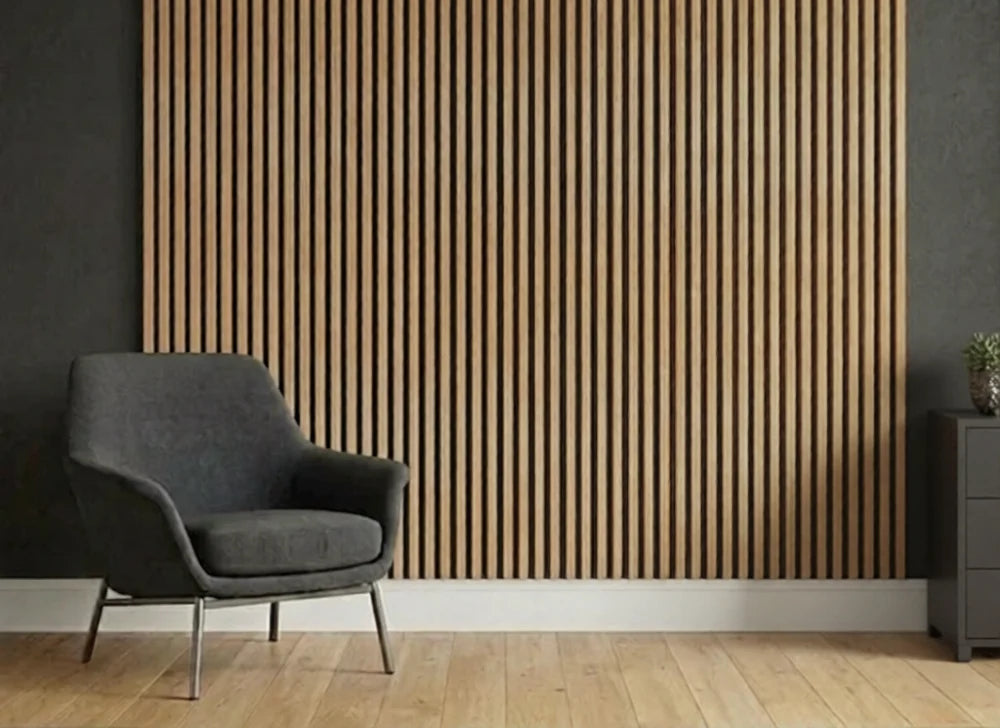
Before diving into installation, it’s worth understanding the benefits. Acoustic panels help reduce echo and improve sound clarity by absorbing sound reflections across your space. They’re ideal for situations like an at home cinema, offices, living spaces with hard surfaces, and open-plan homes.
Modern wood wall panel installation also doubles as a stylish design feature, blending function with aesthetics.
Tools & Materials You’ll Need
To ensure an easy installation process for wall panels, gather these tools before you begin:
● Tape measure
● Pencil
● Spirit level
● Drill or screwdriver
● Screws (black screws are often used for hidden fixing)
● Wall plugs (for masonry walls)
● Mounting adhesive or construction glue
● Saw or utility knife (for cutting panels if needed)
Having everything ready will make the process smoother and prevent interruptions.
Step 1: Prepare Your Wall
Preparation is key to a successful installation. Start by ensuring the wall surface is clean (free from dust and grease), dry, smooth and even.
Any dirt or unevenness can weaken adhesion or affect alignment. If necessary, sand rough areas or fill small holes before starting.
Important tip:
If you’re installing over wallpaper, it’s best to remove it first if using adhesive, as wallpaper may not provide a strong bond.
Step 2: Measure and Plan Your Layout
Next, decide where your panels will go. Measure your wall carefully, mark guidelines with a pencil and use a spirit level to ensure straight lines
Accurate marking ensures your panels align perfectly and avoids costly mistakes. Many DIYers start from one corner and work across the wall for consistency.
You can also experiment with layout styles such as full wall coverage, feature walls, or half-height decorative panels.
Step 3: Cut Panels to Size (If Needed)
If your panels need trimming, use a saw or a sharp utility knife, mark cut lines clearly and protect edges with tape to prevent splintering
This step is common in wood wall panel installation, especially around sockets or edges.
Step 4: Choose Your Fixing Method
One of the most important decisions is how to attach your panels. There are two main options:
1. Adhesive (Quick & Clean)
Adhesive is ideal for smooth, even walls, lightweight panels and quick DIY installs. To apply:
● Add adhesive in a zig-zag pattern on the back
● Keep it slightly away from the edges
● Press firmly onto the wall and hold briefly
This method creates a clean, seamless look with no visible fixings. It’s one of the most popular ways to apply acoustic panels in modern homes. One drawback is that it can be difficult to remove later and requires a perfectly prepared surface.
2. Screws (Secure & Flexible)
Screws can be better for heavier panels, uneven walls and long-term installations.
To install:
● Drill pilot holes
● Insert wall plugs if needed
● Fix panels using evenly spaced screws
Screws are often hidden in the felt backing, making them discreet. However, they can be more time-consuming and require more tools. In many cases, DIYers use both adhesive and screws together for maximum stability, especially on larger installations.
Step 5: Install the First Panel
Your first panel sets the tone for the entire installation. Align it carefully with your markings, check its level and then fix it using your chosen method.
Take your time here. If the first panel is straight, the rest will follow easily.
Step 6: Add Remaining Panels
Continue installing panels one by one by slotting or aligning each panel to the previous one. Try to maintain consistent spacing, whilst checking alignment regularly with a level.
Many modern panels (including those from Panel Hub) are designed with interlocking edges or seamless joins, making installation quicker and more precise.
Step 7: Finishing Touches
Once all panels are installed, check for gaps or uneven edges, clean off any excess adhesive and allow adhesive to cure (usually 24 hours).
Avoid attaching heavy items (like shelves or TVs) directly to the panels. Instead, fix them to the wall behind.
Design Idea: Step-by-Step Installation Graphics

Why Choose Panel Hub Panels
If you’re looking for easy-to-install wall panels, our Panel Hub panels are designed with DIY users in mind, making the entire process of learning to install acoustic panels simpler, faster, and more rewarding.
We offer:
● Simple installation using either adhesive or screws
● Modern wood slat designs that elevate any interior
● Durable construction for long-term performance
● Versatile sizing to suit different wall layouts
By combining acoustic performance with contemporary design, Panel Hub panels are a smart choice for UK homeowners who want both style and practicality.
Installing acoustic panels is a highly achievable DIY project that can transform not just how your space looks, but how it sounds, too. With the right preparation and a step-by-step approach, even beginners can achieve a clean, professional finish.
Whether you’re planning a full wood wall panel installation or a simple feature wall, the process is straightforward, and with Panel Hub panels, it’s easier than ever to get started.