



Article: How to Cut Acoustic Panels: Sockets, Corners & Edges

How to Cut Acoustic Panels: Sockets, Corners & Edges
Acoustic panels are cut using a fine-toothed saw or jigsaw for the front MDF slats and a sharp utility knife for the felt backing, with sockets and switches marked, drilled at the corners, and test-fitted dry before the panel is bonded to the wall.
Acoustic slatted wall panels are designed to be DIY-friendly, but almost every real wall has something in the way — a socket, a corner, a light switch, a skirting board. Getting a clean cut around these obstacles is what separates a feature wall that looks professionally fitted from one that looks obviously home-made.
This guide walks through exactly which tool to use on which part of your panel, how to cut around sockets and switches without cracking the MDF or tearing the felt backing, and how to finish the edges so the join lines disappear into the wall.
Quick Answer
Cut the MDF slats at the front with a fine-toothed jigsaw or handsaw, and cut the felt or PET backing at the rear with a sharp utility knife, working felt-side up. Around sockets and switches, turn the power off first, mark the cut-out on the back of the panel, drill starter holes at each corner, cut the slats before the backing, then test-fit dry before fixing. To protect the felt from tearing, run masking tape along the cut line, use a fresh blade, and cut in light passes. To finish the edges, sand the MDF smooth, trim the felt flush, and cap any joins with trim.
What You're Actually Cutting: Two Materials, Two Tools
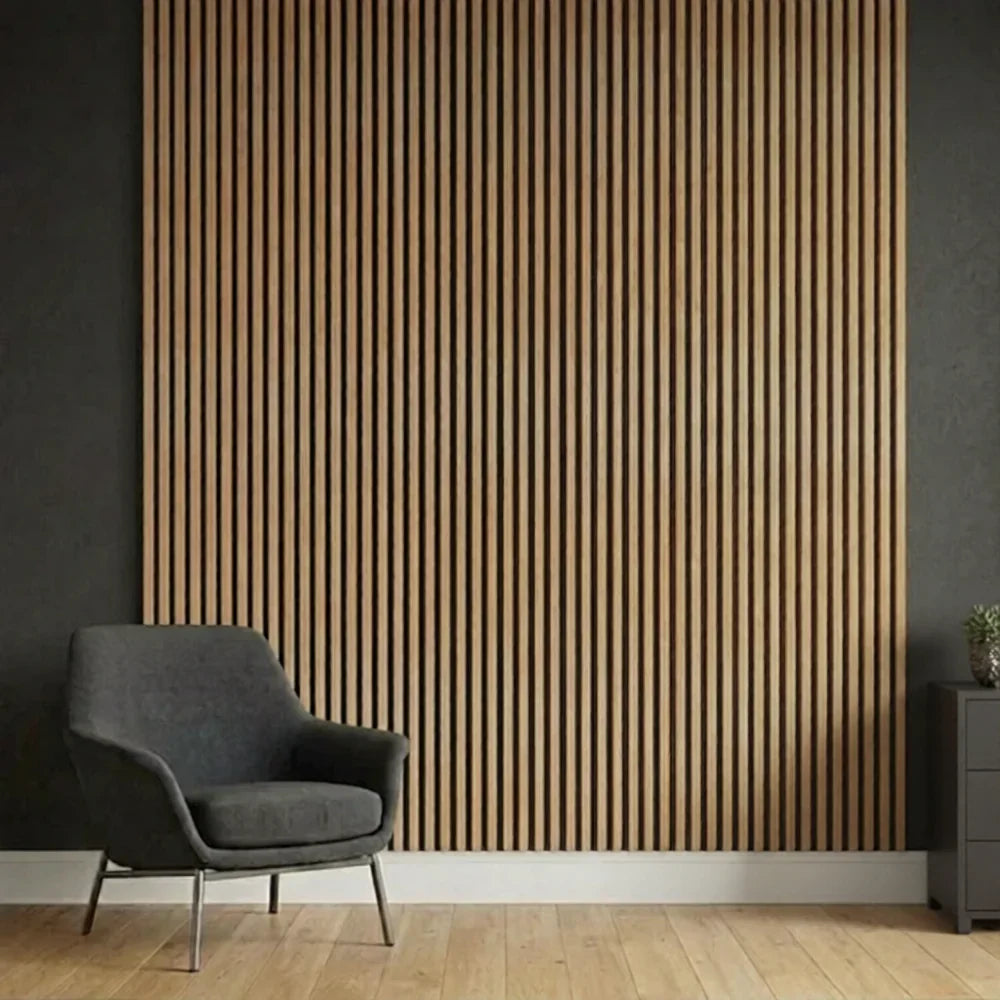
A slatted acoustic panel, like the ones in our 2.4m Acoustic Slatted Wall Panel and Premium MDF Acoustic Slatted Wall Panel ranges, is really two materials laminated together: rigid MDF slats on the front, and a soft acoustic felt (or PET) backing behind them. Each needs a different tool, and using the wrong one for the job is the fastest way to end up with a chipped edge or a torn back panel.
For the MDF slats: use a fine-toothed saw. A jigsaw with a fine wood blade is the easiest option for curved or intricate cuts around sockets, while a handsaw or circular saw is better for long, straight edge trims. The fine teeth stop the MDF veneer from splintering as the blade exits the cut.
For the felt/acoustic backing: put the saw down and pick up a sharp utility knife (Stanley knife). The backing is soft and fibrous — a saw blade will snag and fray it rather than cutting cleanly, whereas a fresh blade slices through in one smooth pass.
Rule of thumb: if you can hear the blade cutting wood, you're using the right tool on the slats. If you're forcing a saw through soft material and it's dragging or fluffing up at the edges, switch to the knife.
Tools checklist before you start
-
Jigsaw with a fine wood blade (or handsaw for straight cuts)
-
Sharp utility/Stanley knife with spare blades
-
Tape measure and a set square
-
Pencil or chinagraph marker
-
Masking tape
-
Metal ruler or straight edge
-
Fine-grit sandpaper (120–180 grit) for finishing
How Do You Cut Acoustic Panels Around Sockets and Switches?
Turn the power off, mark the socket's actual position on the back of the panel, drill a starter hole in each corner of the cut-out, then cut the MDF slats with a jigsaw before finishing the felt backing with a utility knife. This is the step most people get stuck on, so it's worth slowing down and doing it in this order.
-
Turn off the power at the consumer unit before you go anywhere near a socket or switch, and don't rely on the panel job being "low risk" as a reason to skip this.
-
Loosen the faceplate, not the wiring. You just need the faceplate to sit slightly proud of the wall so you can measure to its actual edges rather than the wall plate behind it.
-
Measure twice, from two fixed points. Take the distance from the socket to the nearest finished panel edge, and the distance from the floor or a level datum line, so you're not relying on a single measurement that could be slightly off-square.
-
Transfer the measurements to the back of the panel, not the front. Marking on the reverse means any small errors or pencil marks won't show once the panel is up, and it keeps your working face clean.
-
Drill a starter hole in each corner of the marked cut-out using a small drill bit, just inside your pencil line. This gives your jigsaw blade somewhere to enter without having to plunge-cut through the MDF face, which is where most chipping happens.
-
Cut the MDF slats first, felt second. Jigsaw around the marked outline through the front slats, then flip to the utility knife for the felt backing behind the cut-out, following the same line.
-
Test-fit before final fixing. Offer the panel up to the wall dry (unstuck) and check the socket sits centrally in the cut-out with an even gap all round. It's much easier to trim a millimetre off now than after the panel is bonded to the wall.
-
Re-fit the faceplate once the panel is fixed, so it sits flush over the cut edge and hides the finished opening completely.
A small cut-out with a couple of millimetres of clearance around the faceplate is the goal — tight enough that there's no visible gap, loose enough that the faceplate screws back on without straining the panel.

How Do You Stop the Felt Backing From Tearing?
Tape the cut line with masking tape, use a fresh sharp blade, and cut in light, multiple passes with the felt facing up so you can see and control the blade. The acoustic felt is what gives these panels their sound-absorbing performance, so it's worth protecting it properly rather than treating it as an afterthought once the "real" cutting is done.
-
Run a strip of masking tape along the cut line before you pick up the knife. This holds the felt fibres together as you cut and stops them fraying or pulling away from the slats.
-
Always use a sharp, fresh blade. A dull utility knife blade doesn't slice the felt, it drags and tears it — swap blades far more often than feels necessary.
-
Cut felt-side up wherever possible. Working with the backing facing you, rather than cutting blind from the front, lets you see exactly where the blade is going and control the depth of each pass.
-
Score in light, multiple passes rather than one heavy cut. Two or three light strokes along the same line give a cleaner edge than trying to force the blade through in one go, and reduce the risk of the felt catching and tearing sideways.
-
Support the panel on a flat, firm surface while cutting the backing, so the felt isn't flexing or sagging under the blade.
How Do You Trim the Edges for a Finished Look?
Sand cut MDF edges smooth, trim the felt flush rather than leaving it overhanging, and use a trim strip to cap any join between panel and wall, corner, or reveal. This last step is what makes the join between panels, and the join between panel and wall, ceiling, or skirting, disappear.
-
Sand cut MDF edges lightly with 120–180 grit sandpaper to knock off any splinters or saw marks left by the jigsaw or saw.
-
Trim felt back level with the slat edge, not proud of it, so there's no fuzzy overhang visible once the panel is fitted. A final light pass with the utility knife along the very edge tidies this up.
-
Use trims where panels meet a corner, window, or door reveal. Our Adhesive/Trim range is designed to finish exactly these joins, giving a neat capped edge rather than an exposed cut.
-
Butt panels together tightly at internal joins so the slat pattern reads as continuous across the wall, rather than leaving visible gaps between adjoining panels.
-
Fill and touch up small chips on darker finishes (such as American Dark Oak or Black) with a matching wood filler or marker pen, since small imperfections are far more visible on darker colourways than lighter ones like Light Oak or White Marble.
Final Thoughts
Cutting acoustic panels isn't difficult once you know the sequence: saw for the MDF, knife for the felt, tape and a sharp blade to protect the backing, and a proper trim to finish. Take your time around sockets in particular — a slow, measured approach with a dry test-fit will always beat rushing and hoping it lines up.
If you're planning a full feature wall and want to double-check quantities, cut layouts, or which finish suits your room, browse the full range of acoustic slatted wall panels or get in touch with the Panel Hub team before you start cutting.
Frequently Asked Questions
What tool cuts acoustic panels best?
Use a fine-toothed jigsaw or handsaw for the MDF slats, and a sharp utility knife for the felt or PET backing. Using a saw on the felt will fray it rather than cut it cleanly.
How do you cut a panel around a socket?
Turn off the power, loosen the faceplate, measure to its actual edges from two fixed points, mark the cut-out on the back of the panel, drill starter holes in the corners, then jigsaw the MDF and knife-cut the felt before test-fitting dry.
How do you stop the felt backing from tearing when you cut it?
Tape along the cut line with masking tape, use a fresh sharp blade, cut felt-side up so you can see the line, and score it in a few light passes rather than one heavy cut.
Can acoustic panels be trimmed to fit a smaller wall?
Yes. Measure and mark the required width, cut through the MDF slats with a saw and the felt backing with a utility knife, then sand and trim the edges before fitting.